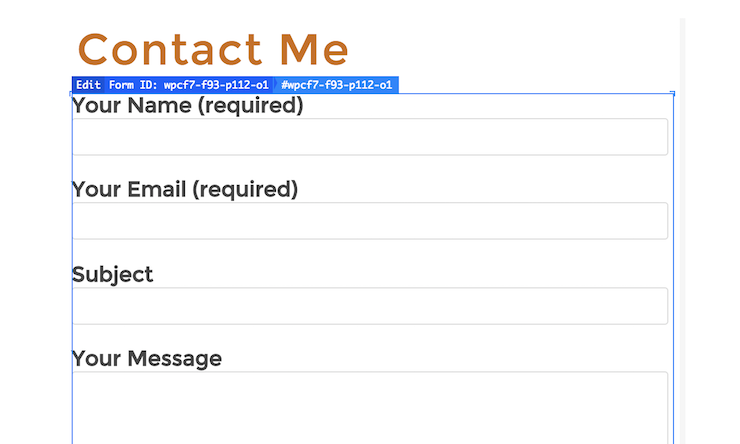
With over 1 million active installations, the Contact Form 7 Plugin is one of the most popular contact forms in the WordPress Repository.
Not only is it easy to use, but it’s also pretty easy to add additional tags to help create a unique contact form on your site. The only downside is that the plugin doesn’t give any easy options for customizing the esthetics of your contact form.
Today, we’re going to show you how you can use CSS Hero to quickly and easily customize the look of your contact form to look pretty awesome. And the best part?
No coding needed!
Customizing the Contact Form 7 with CSS Hero
So let’s dive right in. Below is a picture of what the shortcode for my contact form generates by default.
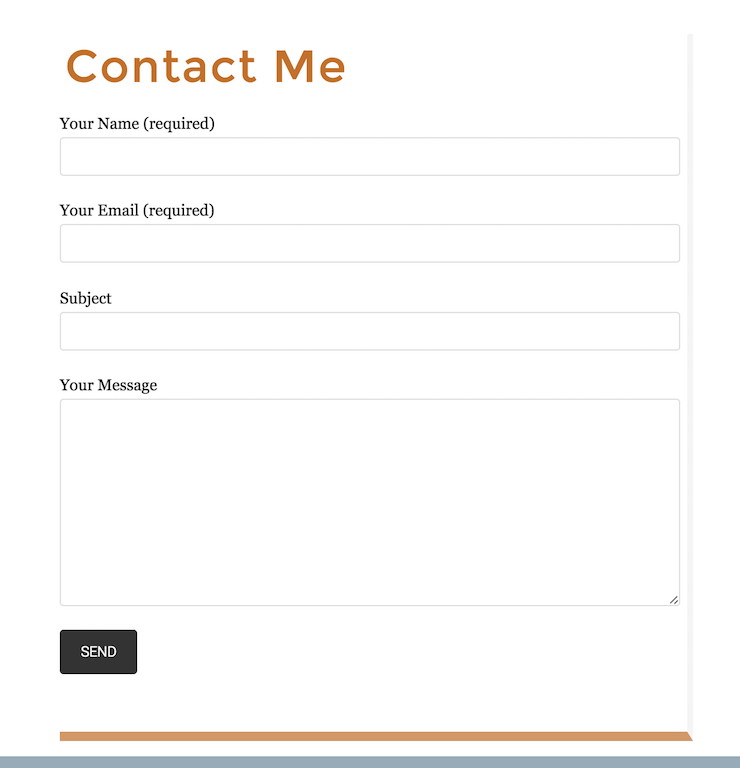
In the next few steps, I’ll show you how you can easily change the follow elements:
- Change font, font size and font color
- Adjust the size of contact form
- Add a border and border color to the form
- Change the size, font, and color of the submission button
Editing The Text
Start by launching CSS Hero and then targeting the selector of the top line on the contact form. (in this case, that selector is #wpcf7-f93-p112-o1 p, but it may be different for you.)
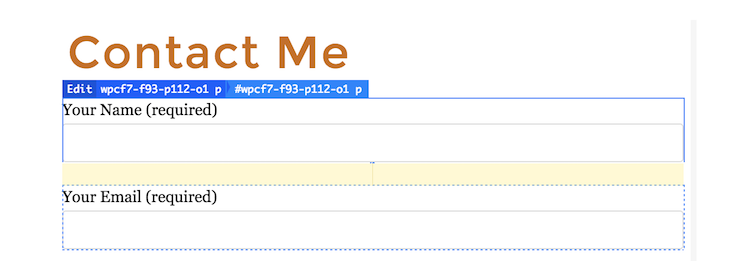
After you click that element, go to Text in the CSS Hero interface and choose the new Font and Font Color and font size for the text in the contact form.
You have quite a few options here, so just play around with things until you find the shoe that fits.
Customizing the Width, Border, and Border Color
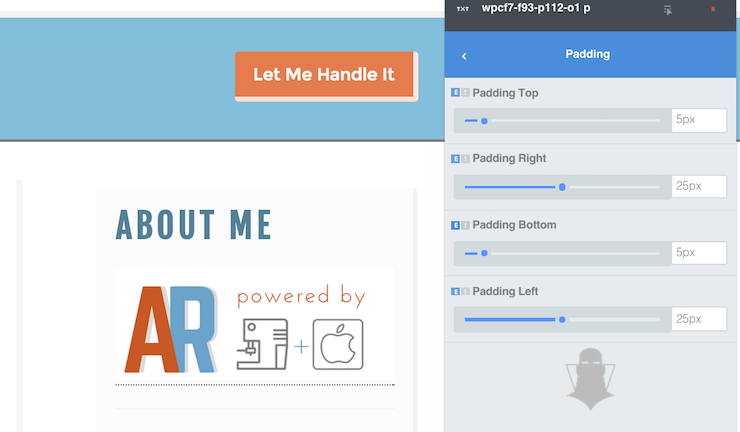
Now that that’s done, move on to adjusting the Width, Border, and Border Color. Go back to the main options in the Front-End Editor, select Padding and adjust the size. (I decided to do it this way so that the border I am going to add and input fields don’t touch.)
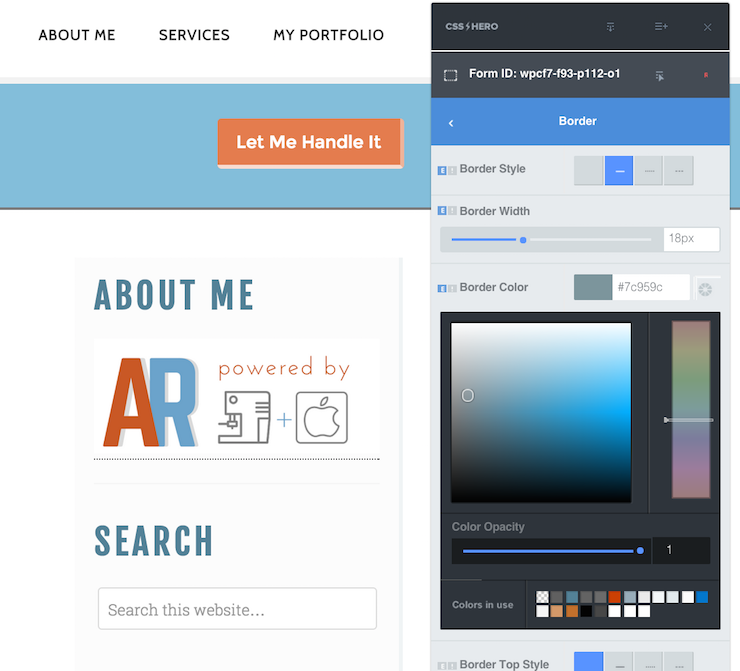
To add the Border to the whole form rather than in individual input fields, hover over the page and select the entire contact form (the entire contact form will outline in blue to let you know that you’ve selected the correct element.)
Now, go back to the CSS Hero editor and select the Border option. Choose your border style, add the pixel width that you would desire, and choose a border color.
Before I wrap up customizing things, I decided I’d still like to edit the submission button so that it matches the rest of my site. To do that, I hover over the button and select it to reveal the customization options in CSS Hero.
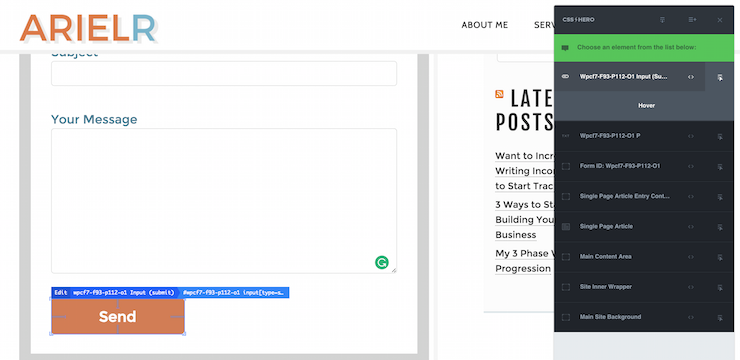
First, use the Text option to change the Font in the button. Next, use the Background option to change the color of the button. After that, choose the Size option to change the width and height of the button.
In order to add a bit something extra, you can also decide to add a different color to the button when a mouse hovers over it.
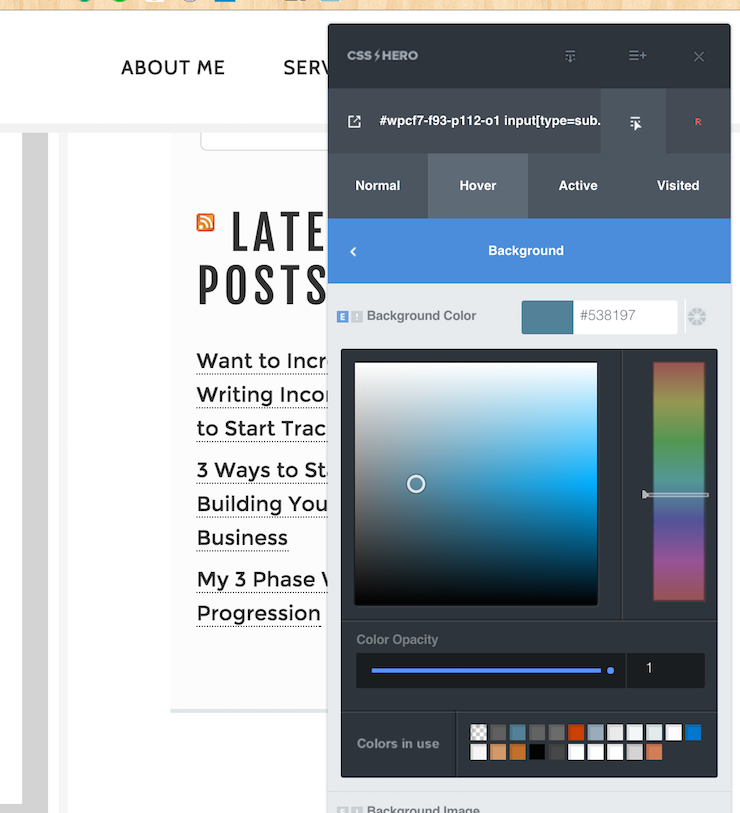
To do that, select the small selector arrow to the right of the element in CSS Hero and then choose the Hover option which opens all the customization options for when a mouse hovers over that element.
Now, simply pick out the Background color option and a new color for the Hover of that element.
After all of that, here is the final result for my contact form.
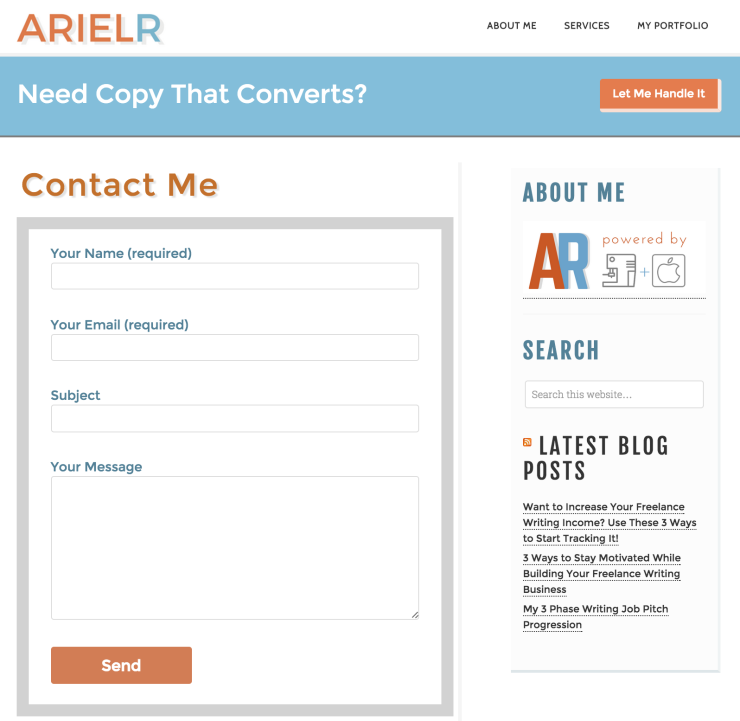
As you can see, the contact form now matches my theme’s colors and style. All of these edits took me no more than 10 minutes to do using the CSS Hero plugin on my Genesis Framework theme.
Wrapping It Up
This is just one example of what you can make your contact form look like when using the CSS Hero plugin in unison with the Contact Form 7 plugin, but you can do leaps and bounds more and you don’t need to be a coding expert in order to accomplish the look you want.
Just a few clicks and your contact form starts to look like a work of art.
What type of CSS Hero article or tutorial would you like to see up on the blog next?

